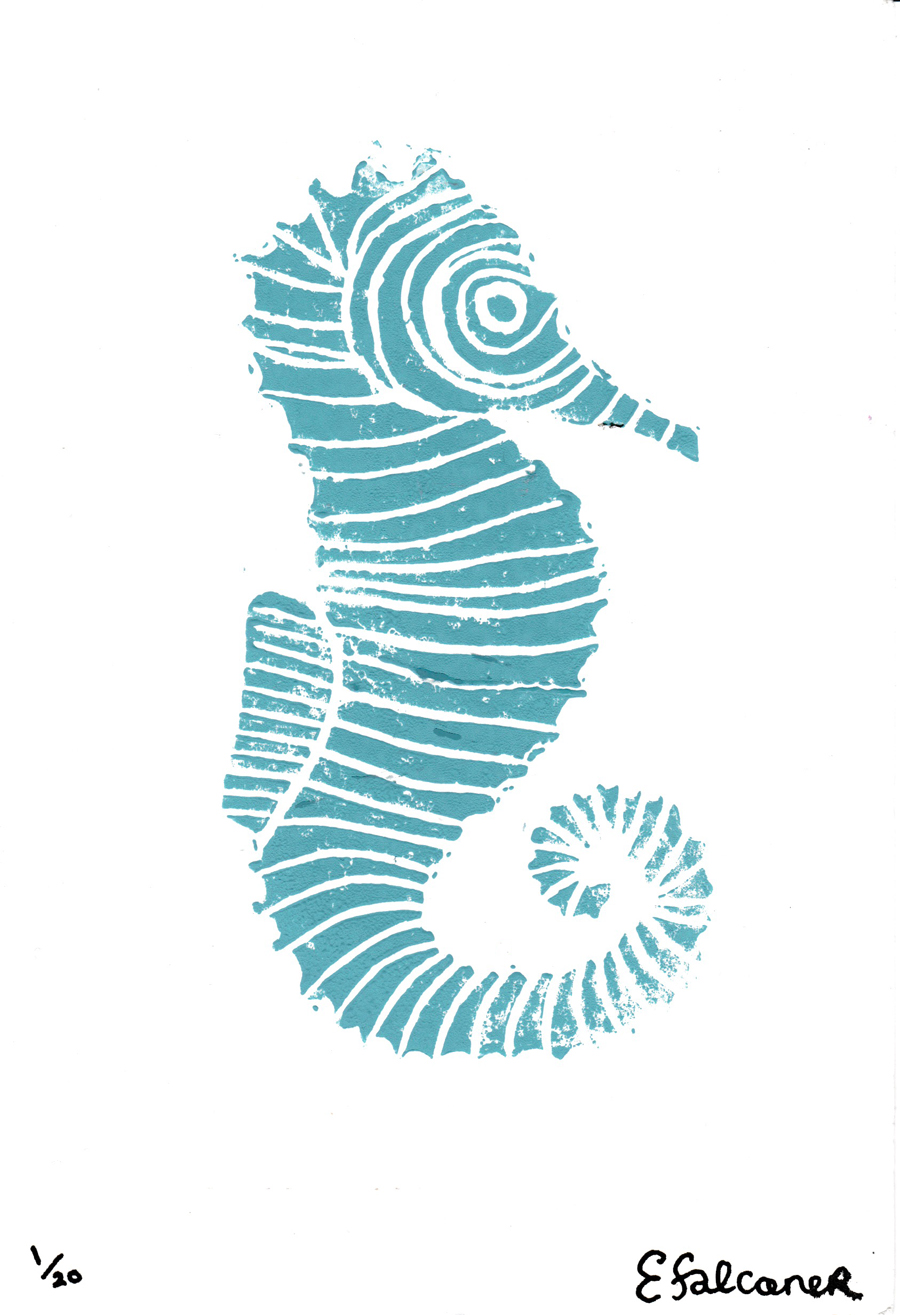
Yesterday I spent the afternoon doing some lino prints. The prints are available from here for £2.80 each. They’re A5 sized and printed on thick 300gsm Canson watercolour paper.
Here’s a brief tutorial on the basics of lino printing:

Here’s the equipment you need. I have listed the usual prices per item at time of writing, but you can also get a beginner’s kit with them in for about £25-30 from a couple of different brands:
- The lino plate itself- These grey ones are very cheap and not that great. You can get thicker ones, ones made of softer rubber, or glued onto a wooden backing for a little more money. If you use the cheap ones, it’s a good idea to rest them on a radiator for a while (or even sit on them) to soften them up. Anywhere from £1-5 depending on size and quality.
- Lino cutting tool and selection of blades- It’s a little handle with different sized blades that slot in. Around £5
- Block printing ink- A water-based paint designed specially for printmaking About £4 per colour
- Clean roller and ink roller (aka brayers)- These are both simple rubber rollers. It’s important to keep these separate. One is used for inking up the lino plate, and the other for rolling over the paper or plate to make the print. About £6-7 each.
- Inking surface- I have a piece of perspex for this. The white tray in the photo is also sold for this purpose. A smooth plastic or glass surface to roll out a thin layer of ink on.
- Plastic paint tray- Art shops sell these for rolling out and mixing paints and printing inks, but I find it very useful for cutting the plate in. If you position the lino plate in the corner, the raised edges protect your hands, and the smooth base of the tray makes it easy to spin the plate around as you cut. Around £2.
- Paper- normal printer paper for test prints, and nicer paper for the real prints. I used Canson 300gsm watercolour paper- using the smooth side rather than the textured one.
- A flat cleanable surface like a kitchen counter to work from.
- Enough flat space to leave your prints to dry.

Draw your image onto the plate, and then leave it on a radiator to soften up. Then very carefully use the lino tool to carve out the lines. Be very careful with the blade and cut slowly and away from your body/hands to avoid injury.

As I already said, I find cutting inside the paint tray very helpful to avoid cutting myself. It also keeps the offcuts of lino contained for easier disposal.

As my seahorse image doesn’t have a background, I trimmed the edges of the plate with scissors, and used the largest blade size to carve off any excess.

Put a dab of ink from the tube onto the inking surface. Using the ink roller, roll out a thin consistent layer of ink onto your inking surface. This creates a fine, thin layer of ink on the roller. Once the roller is coated, roll the ink onto the lino. I have used tinfoil underneath here to protect my kitchen. I find it slides about less than plastic, but is still easy to wipe excess ink from.
Then it’s time to make a test print using cheap paper. You can either lay the paper on top of the lino, or put the lino face down onto the paper, whichever works better. For this image I found it worked better to have the paper underneath. Then use either your clean roller or the back of a spoon to put pressure evenly over the plate, and carefully remove the paper. It will probably take a little experimentation to find an amount of ink and a pressing technique you are happy with. The cheap lino I used here had a tendency to curl when inked, so I found the roller worked better for me this time. Of course the ideal is to have access to a printing press, which keeps everything flat and gives an even amount of pressure.

Once you are happy with your prints, you can then start using your fancy paper. Leave the prints flat and separate to dry for at least an hour.

Once they are dry, you can sign and number them.
Leave a Reply